Short answer
To set up a booking page for Google Calendar with SMS Reminder: connect your Google Calendar, open Settings → Booking Page, set your weekly availability, create an appointment type for each service, and share your booking link. Clients choose a type and an open time, and the booking is added to your Google Calendar automatically. You can create unlimited appointment types, so every service can live on the same link. Add an SMS reminder template to each appointment type and every booking gets a text reminder too.
The rest of this guide walks through each step, the settings that stop double-bookings and surprise same-day appointments, and how to run one link for several staff members.
What a booking page does
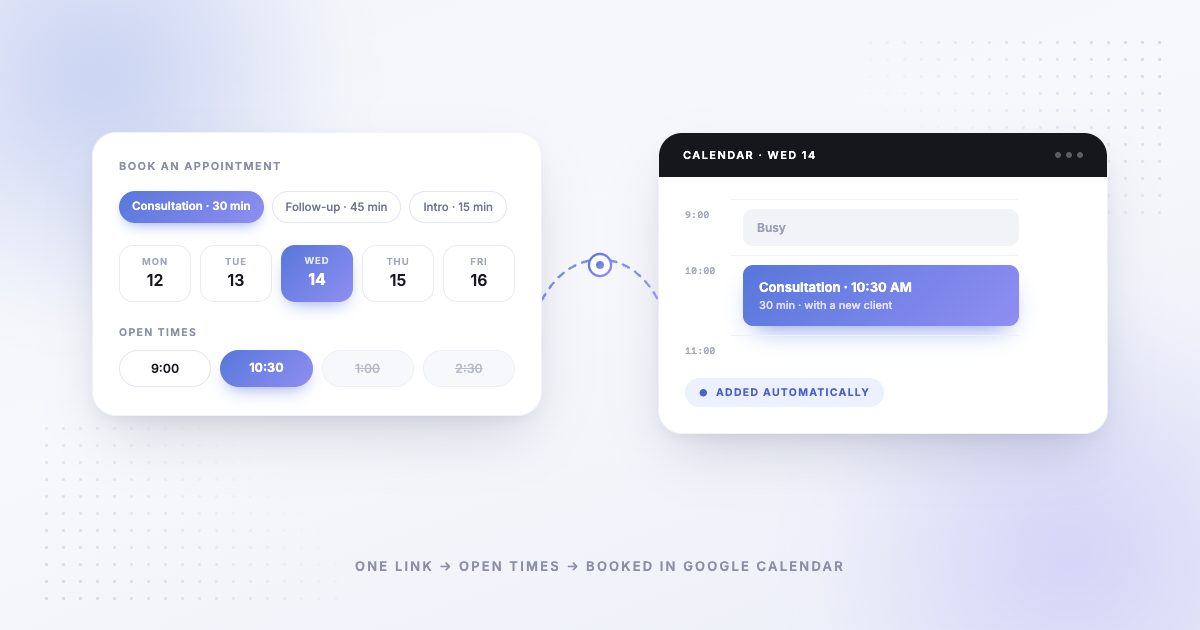
A booking page replaces the “what time works for you?” back-and-forth. Instead of trading messages, you send one link. The client sees the times you can actually take — worked out from the hours you’ve set and the busy time already in your calendar — picks one, and the appointment appears in Google Calendar.
For appointment-based businesses, that means:
- New clients can book at 11pm without waiting for you to reply.
- Your calendar stays the single source of truth — bookings go into the calendar you already use.
- Fewer double-bookings, because anything already marked Busy isn’t offered.
Your two options
Google Calendar’s own appointment schedules. Google Calendar includes a built-in booking feature. Google’s help centre notes that “some appointment schedule features require an eligible Google Workspace or Google One subscription,” and describes its reminders as emails: “You can send up to 5 reminders. You can’t edit the text of the reminder emails.”1 If email reminders and a single schedule cover what you need, it’s a reasonable place to start.
A booking page from an appointment app connected to Google Calendar. This is the route to take if you want text message reminders on your bookings, one link that books into different calendars for different staff or services, and client rescheduling from the confirmation page. That’s how the SMS Reminder booking page works, and it’s what the steps below set up.
Why unlimited appointment types matter
Most appointment businesses don’t sell one thing. A therapist offers an intake, a standard session and a follow-up. A salon has cuts, colour and treatments of different lengths. Each needs its own duration, notice period and buffers — which means each needs its own appointment type.
That’s where some booking apps start charging. Calendly’s free plan, for example, includes one event type, with unlimited event types on its paid plans.2 SMS Reminder doesn’t cap appointment types: create one for every service, session length, staff member or location, and clients choose between them on a single booking page.
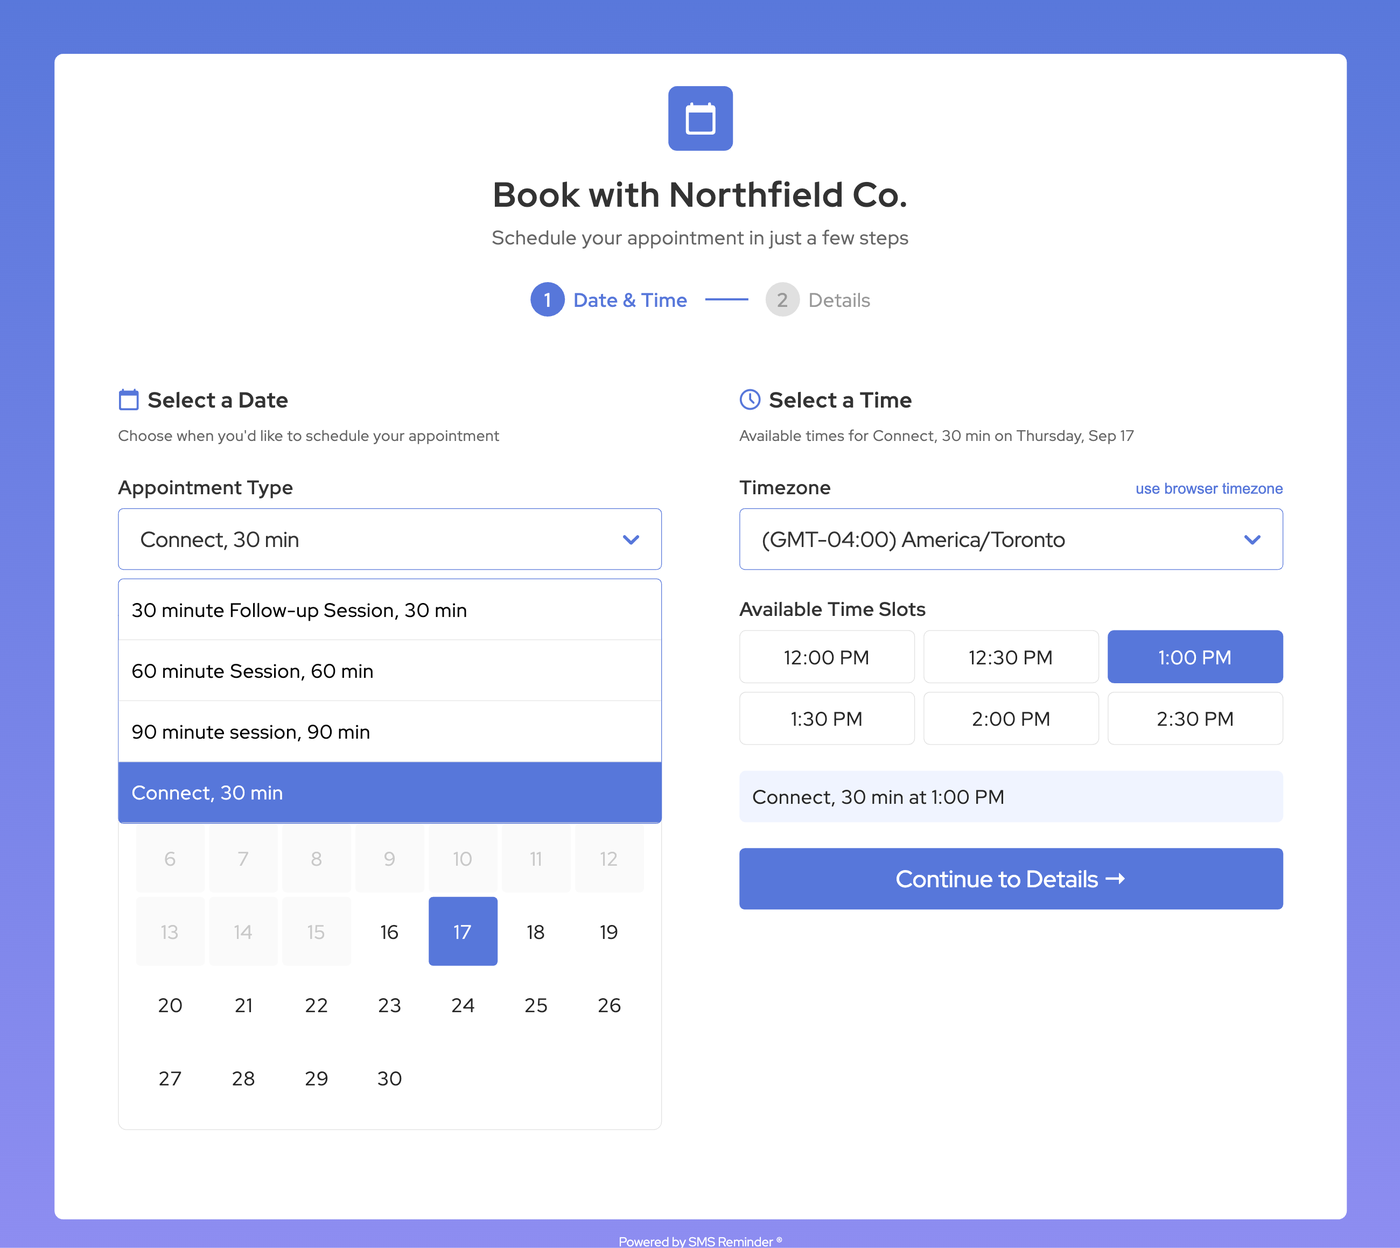
A live booking page: every appointment type sits in one menu. See all booking page features for more detail.
Appointment types are unlimited on every plan, including the free trial — your plan only limits how many calendars you can sync.3
Step-by-step setup
Step 1: Connect and sync your calendars
Sign in to the SMS Reminder web app with your Google account. Go to Settings → Calendars and tick the calendars you want to use. If a calendar doesn’t appear, check that it’s already connected to your Google account.
Step 2: Set your weekly availability
Go to Settings → Booking Page and set the hours you accept bookings on each day, Sunday to Saturday. Switch off the days you don’t work. This schedule repeats every week and applies to your whole booking page.4
Step 3: Create your appointment types
Click Manage appointment types → + Add Type. There’s no limit on how many you create, so add one for each service rather than squeezing several into a single generic slot.3 For each one, set:
- a name clients will recognise (“60-minute consultation”, “Men’s cut”)
- a duration
- the Google Calendar the booking should go into
- minimum notice and buffers (covered below)
Step 4: Share your booking link
Copy your unique booking URL from Settings → Booking Page. Good places to put it:
- a “Book Now” button on your website
- your email signature
- your Instagram or social bio
- a text to a client who asks for an appointment
Using WordPress or Shopify? See booking on WordPress or Shopify below.
Here’s what clients see when they open the link:
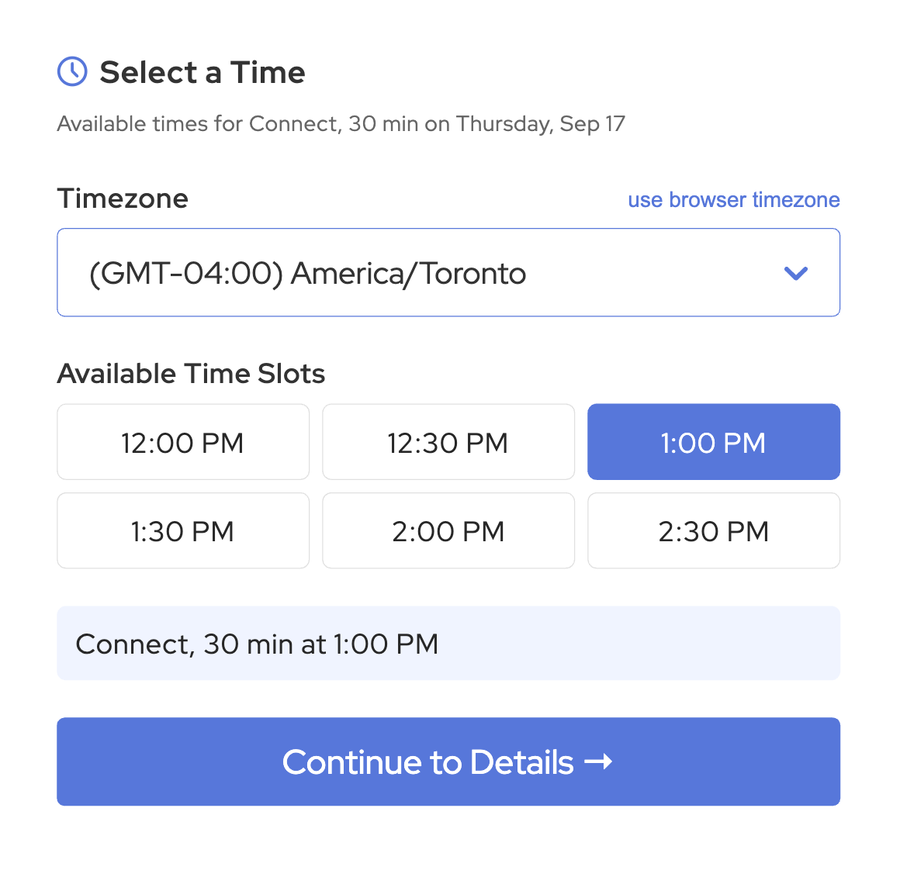
Clients choose an appointment type and date, pick an open time in their own time zone, then add their details.
Step 5: Book a test appointment
Open your link in a private browser window and book yourself a slot. Check it appears in the right Google Calendar with the right duration before you share the link widely.
Booking for multiple staff, services or locations
You don’t need a separate link per person. Instead, map each appointment type to its own calendar:
| Appointment type | Books into |
|---|---|
| Haircut with Sam | Sam’s calendar |
| Colour with Priya | Priya’s calendar |
| Consultation — downtown | Downtown location calendar |
Clients pick the type on one booking page and the appointment lands in the assigned calendar. This keeps team calendars organised and helps prevent double-bookings.5
How many calendars you can sync depends on your plan: Basic 2, Starter 5, Business 10, Enterprise 20, and Premium unlimited.5 See pricing for current plans.
One thing to plan around: the booking page runs on one weekly availability schedule. If staff work different hours, block the time that shouldn’t be bookable with Busy events in Google Calendar.4
Settings that prevent booking problems
Minimum notice. Set how much warning you need — in minutes, hours or days. With a one-day notice, open times only start appearing a day ahead, even if your calendar is empty sooner.6
Buffers. Add time before or after existing appointments so you aren’t running from one client to the next, and an overrunning appointment doesn’t collide with the next booking. Times that overlap a buffer aren’t offered.6
Busy events. Need to protect a lunch break, a school run or a standing meeting? Add it to Google Calendar and make sure the event is marked Busy. Busy events are treated as unavailable; events marked Free stay open for bookings.4
Holidays and days off. Use the date picker in your availability settings to close individual days. You add one date at a time, so for a week away it’s quicker to add a Busy block to your calendar.4
Letting clients reschedule
Turn on Allow clients to modify their appointment and a Reschedule option appears on the confirmation page, where clients pick a new open time and the appointment updates automatically.7 Clients who add the appointment to their own calendar from the confirmation page also get the rescheduling link inside that event.
You can switch rescheduling off for specific appointment types. A rescheduled booking keeps its appointment type — clients can change the time, not the service.7
If you also send SMS reminders, clients can reply to ask to reschedule; the app responds with your rescheduling link so they can pick a new time. More on that in how to let clients reschedule by text.
Adding SMS reminders to bookings
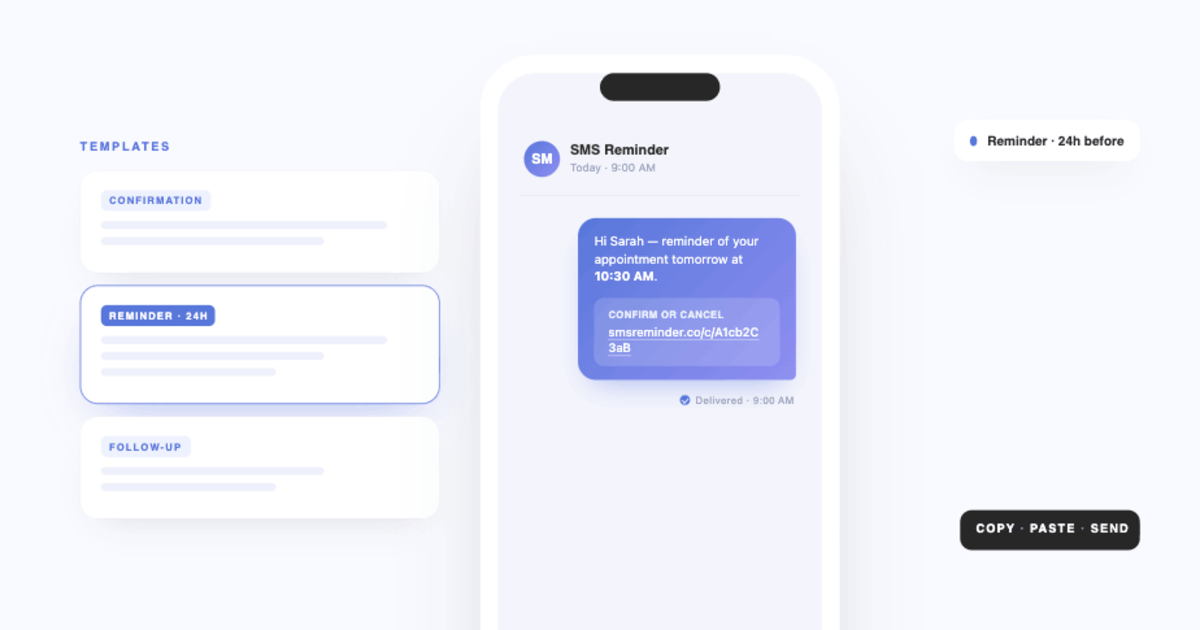
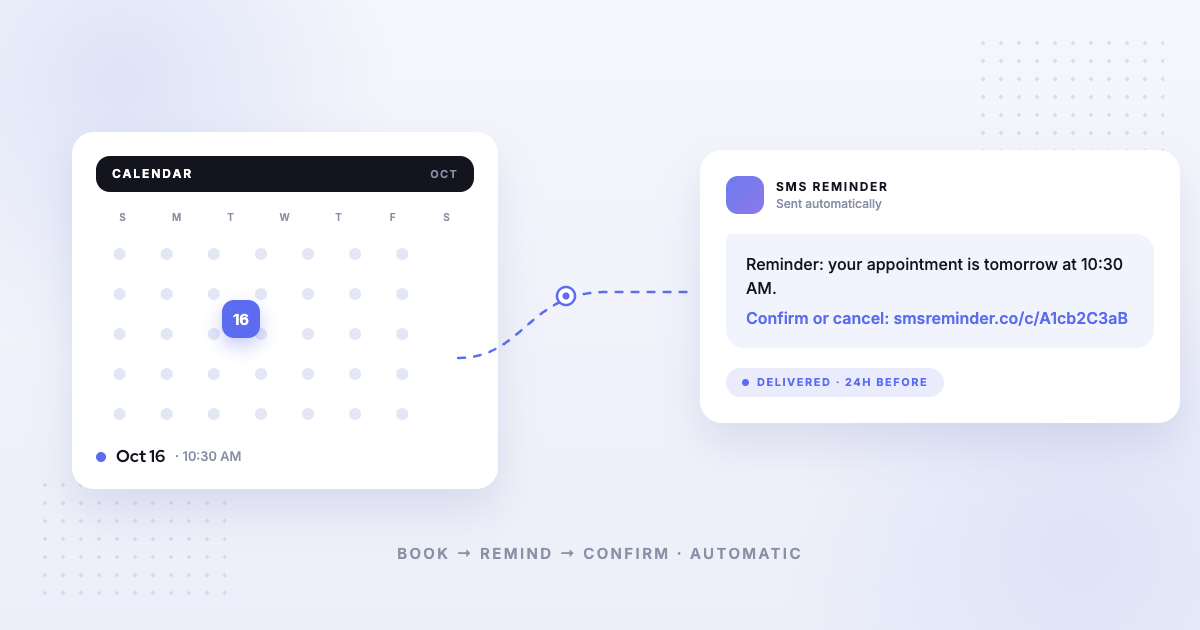
Booking is only half the job — the further ahead someone books, the easier it is to forget. In Manage Appointment Types, choose an SMS Reminder template for each type. From then on, reminders are scheduled automatically for every new booking made through it.8
Because each type can use its own template and schedule, you might send:
- an immediate confirmation so the client knows they’re booked
- a 24-hour reminder for consultations
- a follow-up after the appointment prompting them to book again
Need wording? The SMS reminder template generator drafts messages for your business type.
Booking on WordPress or Shopify
If your website or store runs on one of these platforms, there’s a dedicated way to add booking:
- WordPress: the SMS Reminder booking plugin adds a Book Now button block to any page or post, connected to your SMS Reminder account and Google Calendar availability.
- Shopify: the Shopify booking app adds appointment booking to your store, with bookings synced to Google Calendar. It’s a separate app installed from the Shopify App Store, set up inside Shopify.
Not on either? Point a Book Now button on any website at your booking link.
What the booking page doesn’t do
Being clear about limits saves you a surprise later:
- No recurring self-booking. The booking page takes one-off appointments. Standing appointments you create in Google Calendar still get their own reminders.
- One availability schedule per booking page. Use Busy events for anything that varies.
- Appointment type is fixed on reschedule. Clients can move the time, not switch services.
Ready to try it? Set up your booking page, or see every booking page feature in more detail.
Frequently asked questions
How many appointment types can I add to my booking page?
As many as you need, on every plan including the free trial. SMS Reminder doesn’t cap appointment types, so you can create one for every service, session length, staff member or location and offer them all from one booking link.
How do I create a booking page for Google Calendar?
In SMS Reminder, connect your Google Calendar, go to Settings → Booking Page, set your weekly availability, create at least one appointment type, then copy your booking link and share it. Bookings are added to your Google Calendar automatically.
Can clients book directly into my Google Calendar?
Yes. Clients open your booking link, choose an appointment type and an open time, and the appointment is added to the Google Calendar linked to that appointment type. Events marked Busy in your calendar are never offered as open times.
Can I use one booking link for multiple staff members?
Yes. Create an appointment type for each staff member, service or location and link each one to its own synced Google Calendar. Clients choose on one page and the booking lands in the right calendar. The number of calendars you can sync depends on your plan.
How do I stop last-minute bookings?
Set a minimum notice period in minutes, hours or days. Open times only start appearing after that notice, even if your calendar is open sooner.
Can clients book recurring appointments on the booking page?
No. The booking page takes one-off appointments. Recurring appointments you create in Google Calendar can still get their own SMS reminders.
Can booked appointments get text reminders?
Yes. Choose an SMS reminder template on an appointment type, and reminders are scheduled automatically for every booking made through that type.
Sources
Details about other products can change — the Google Calendar and Calendly information below was verified on each provider’s own site on the access date shown. Confirm current information there before deciding. SMS Reminder details come from our help centre.
- Google — “Create an appointment schedule,” Google Calendar Help, https://support.google.com/calendar/answer/10729749, accessed 2026-09-16.
- Calendly — Pricing, https://calendly.com/pricing, accessed 2026-09-16.
- SMS Reminder Help — Create unlimited appointment types for your booking page.
- SMS Reminder Help — Customizing your availability.
- SMS Reminder Help — Setting up appointment booking for multiple calendars.
- SMS Reminder Help — Appointment notice periods & buffers.
- SMS Reminder Help — Allow clients to reschedule appointments.
- SMS Reminder Help — Automatically send SMS reminders on booked appointments.